
🏡 Stay warm, save green, and chill less with SOL Window Insulation!
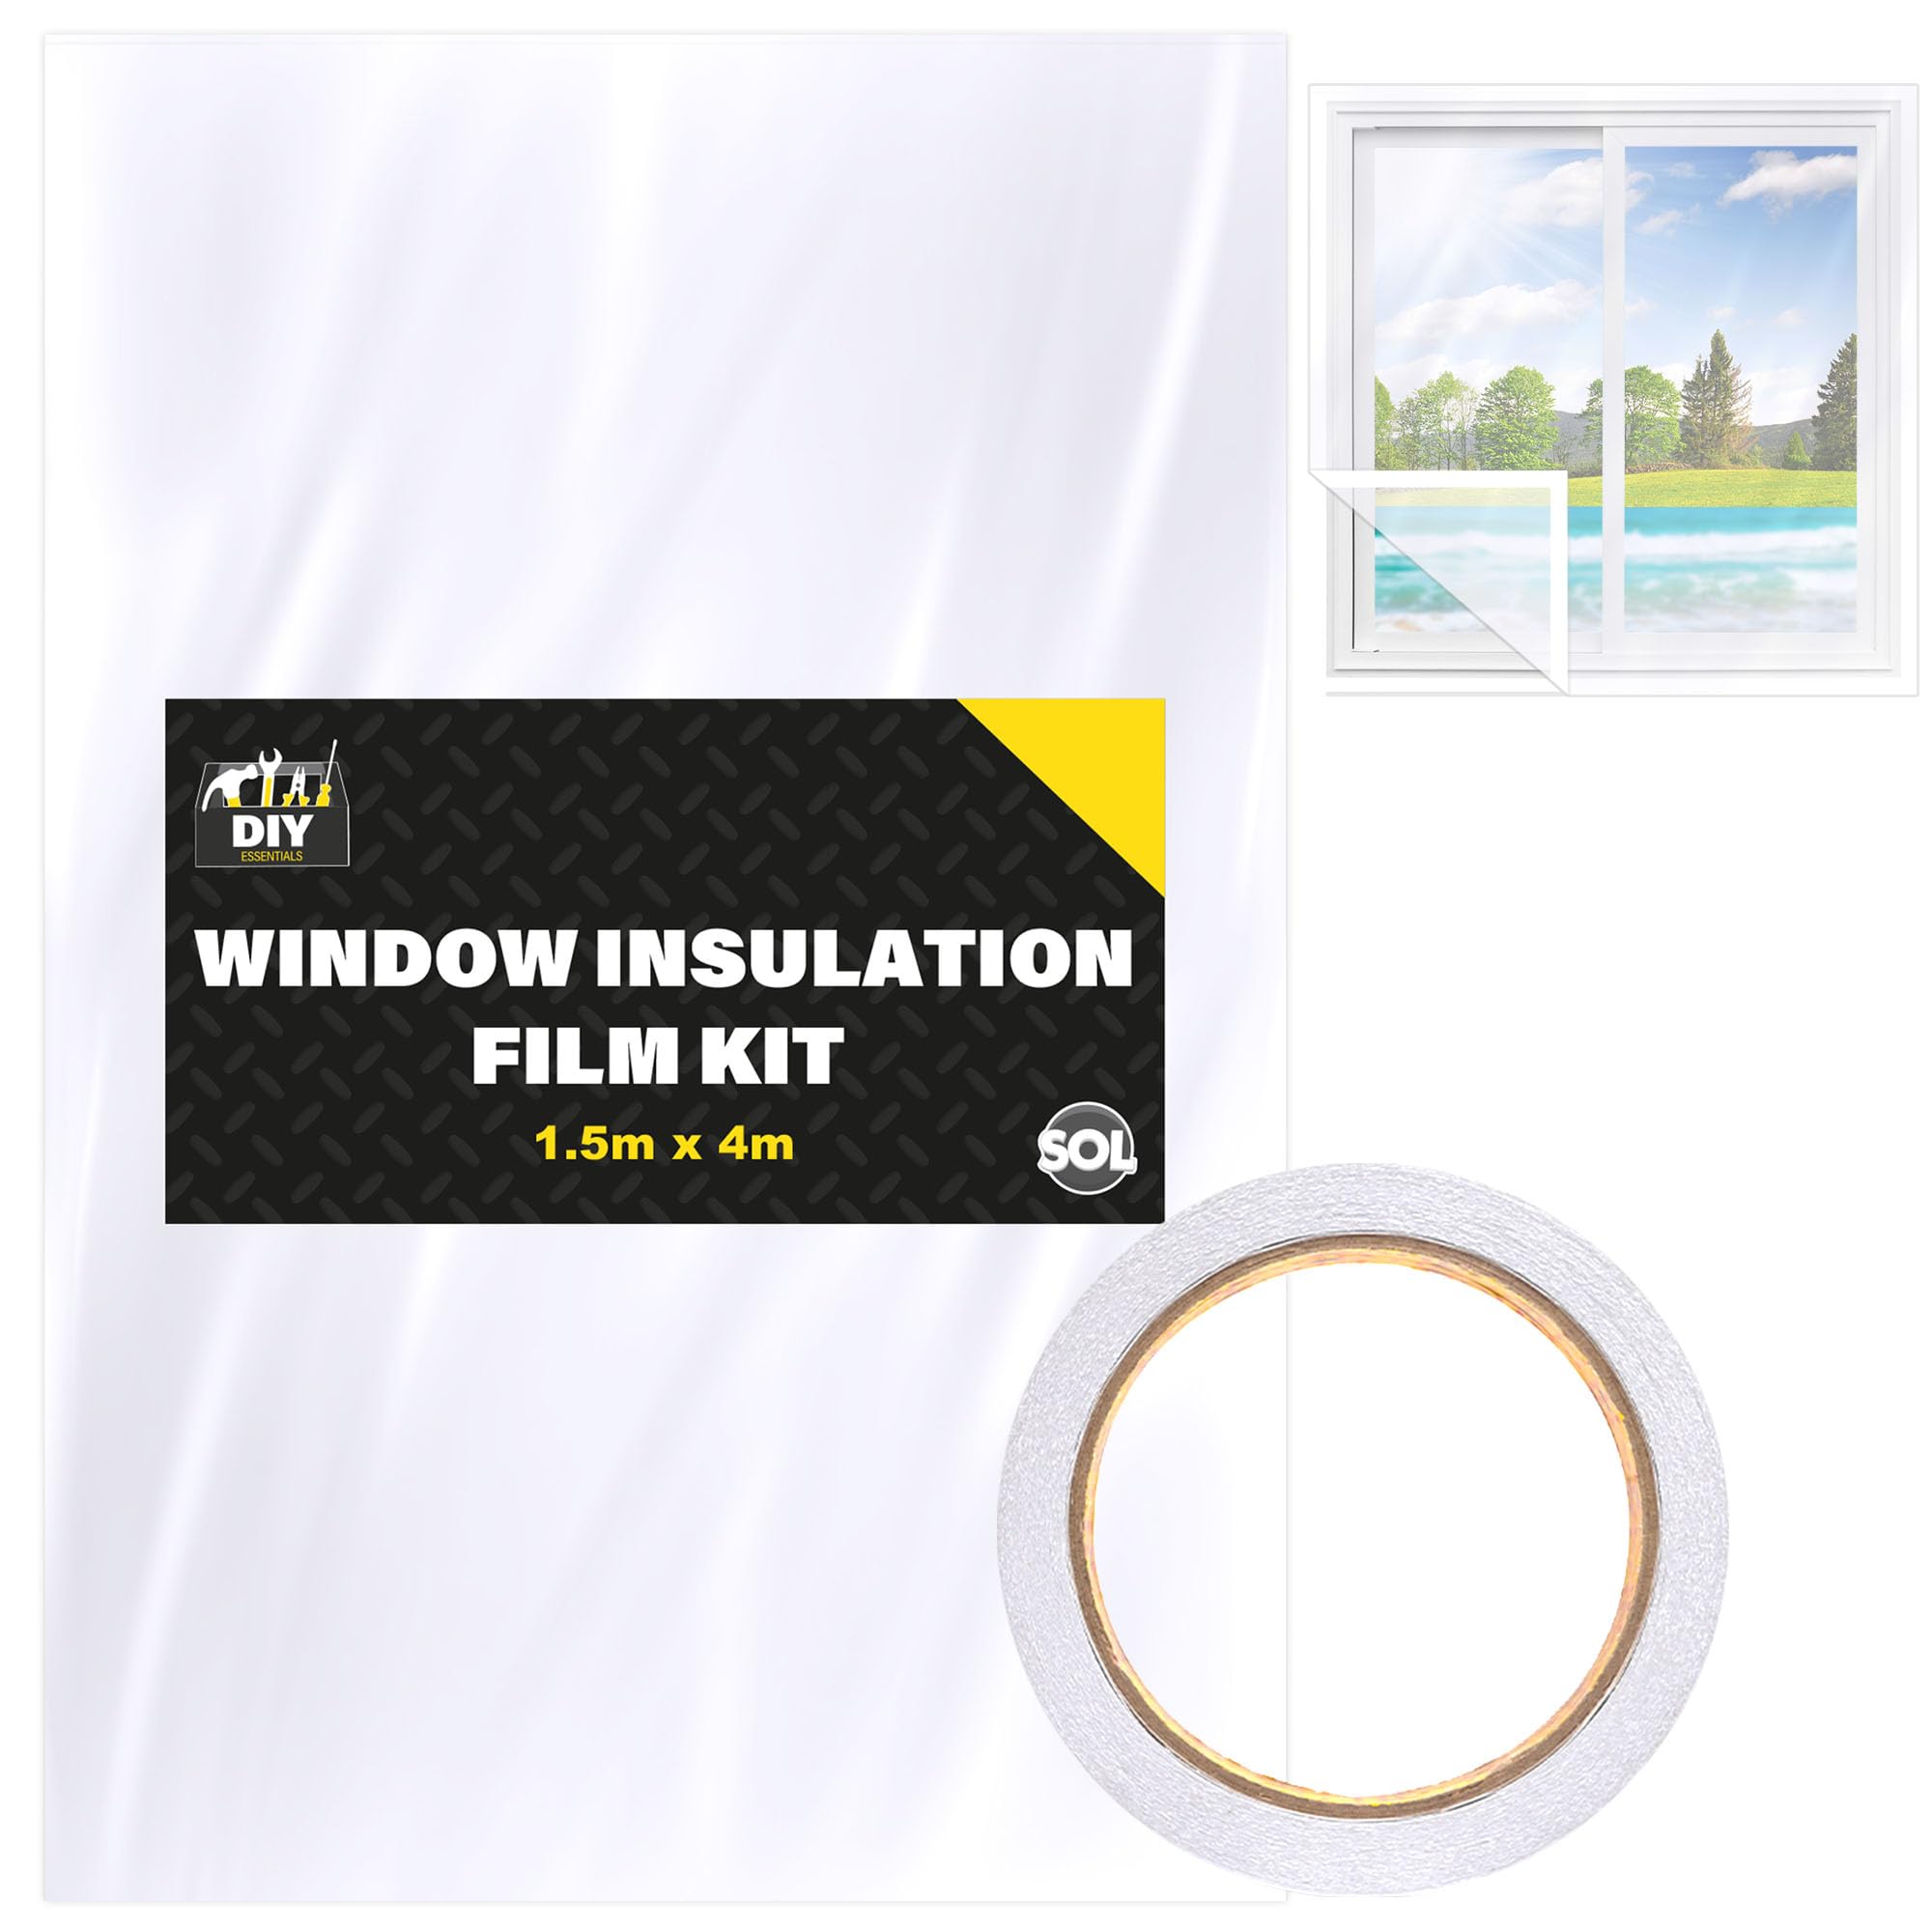
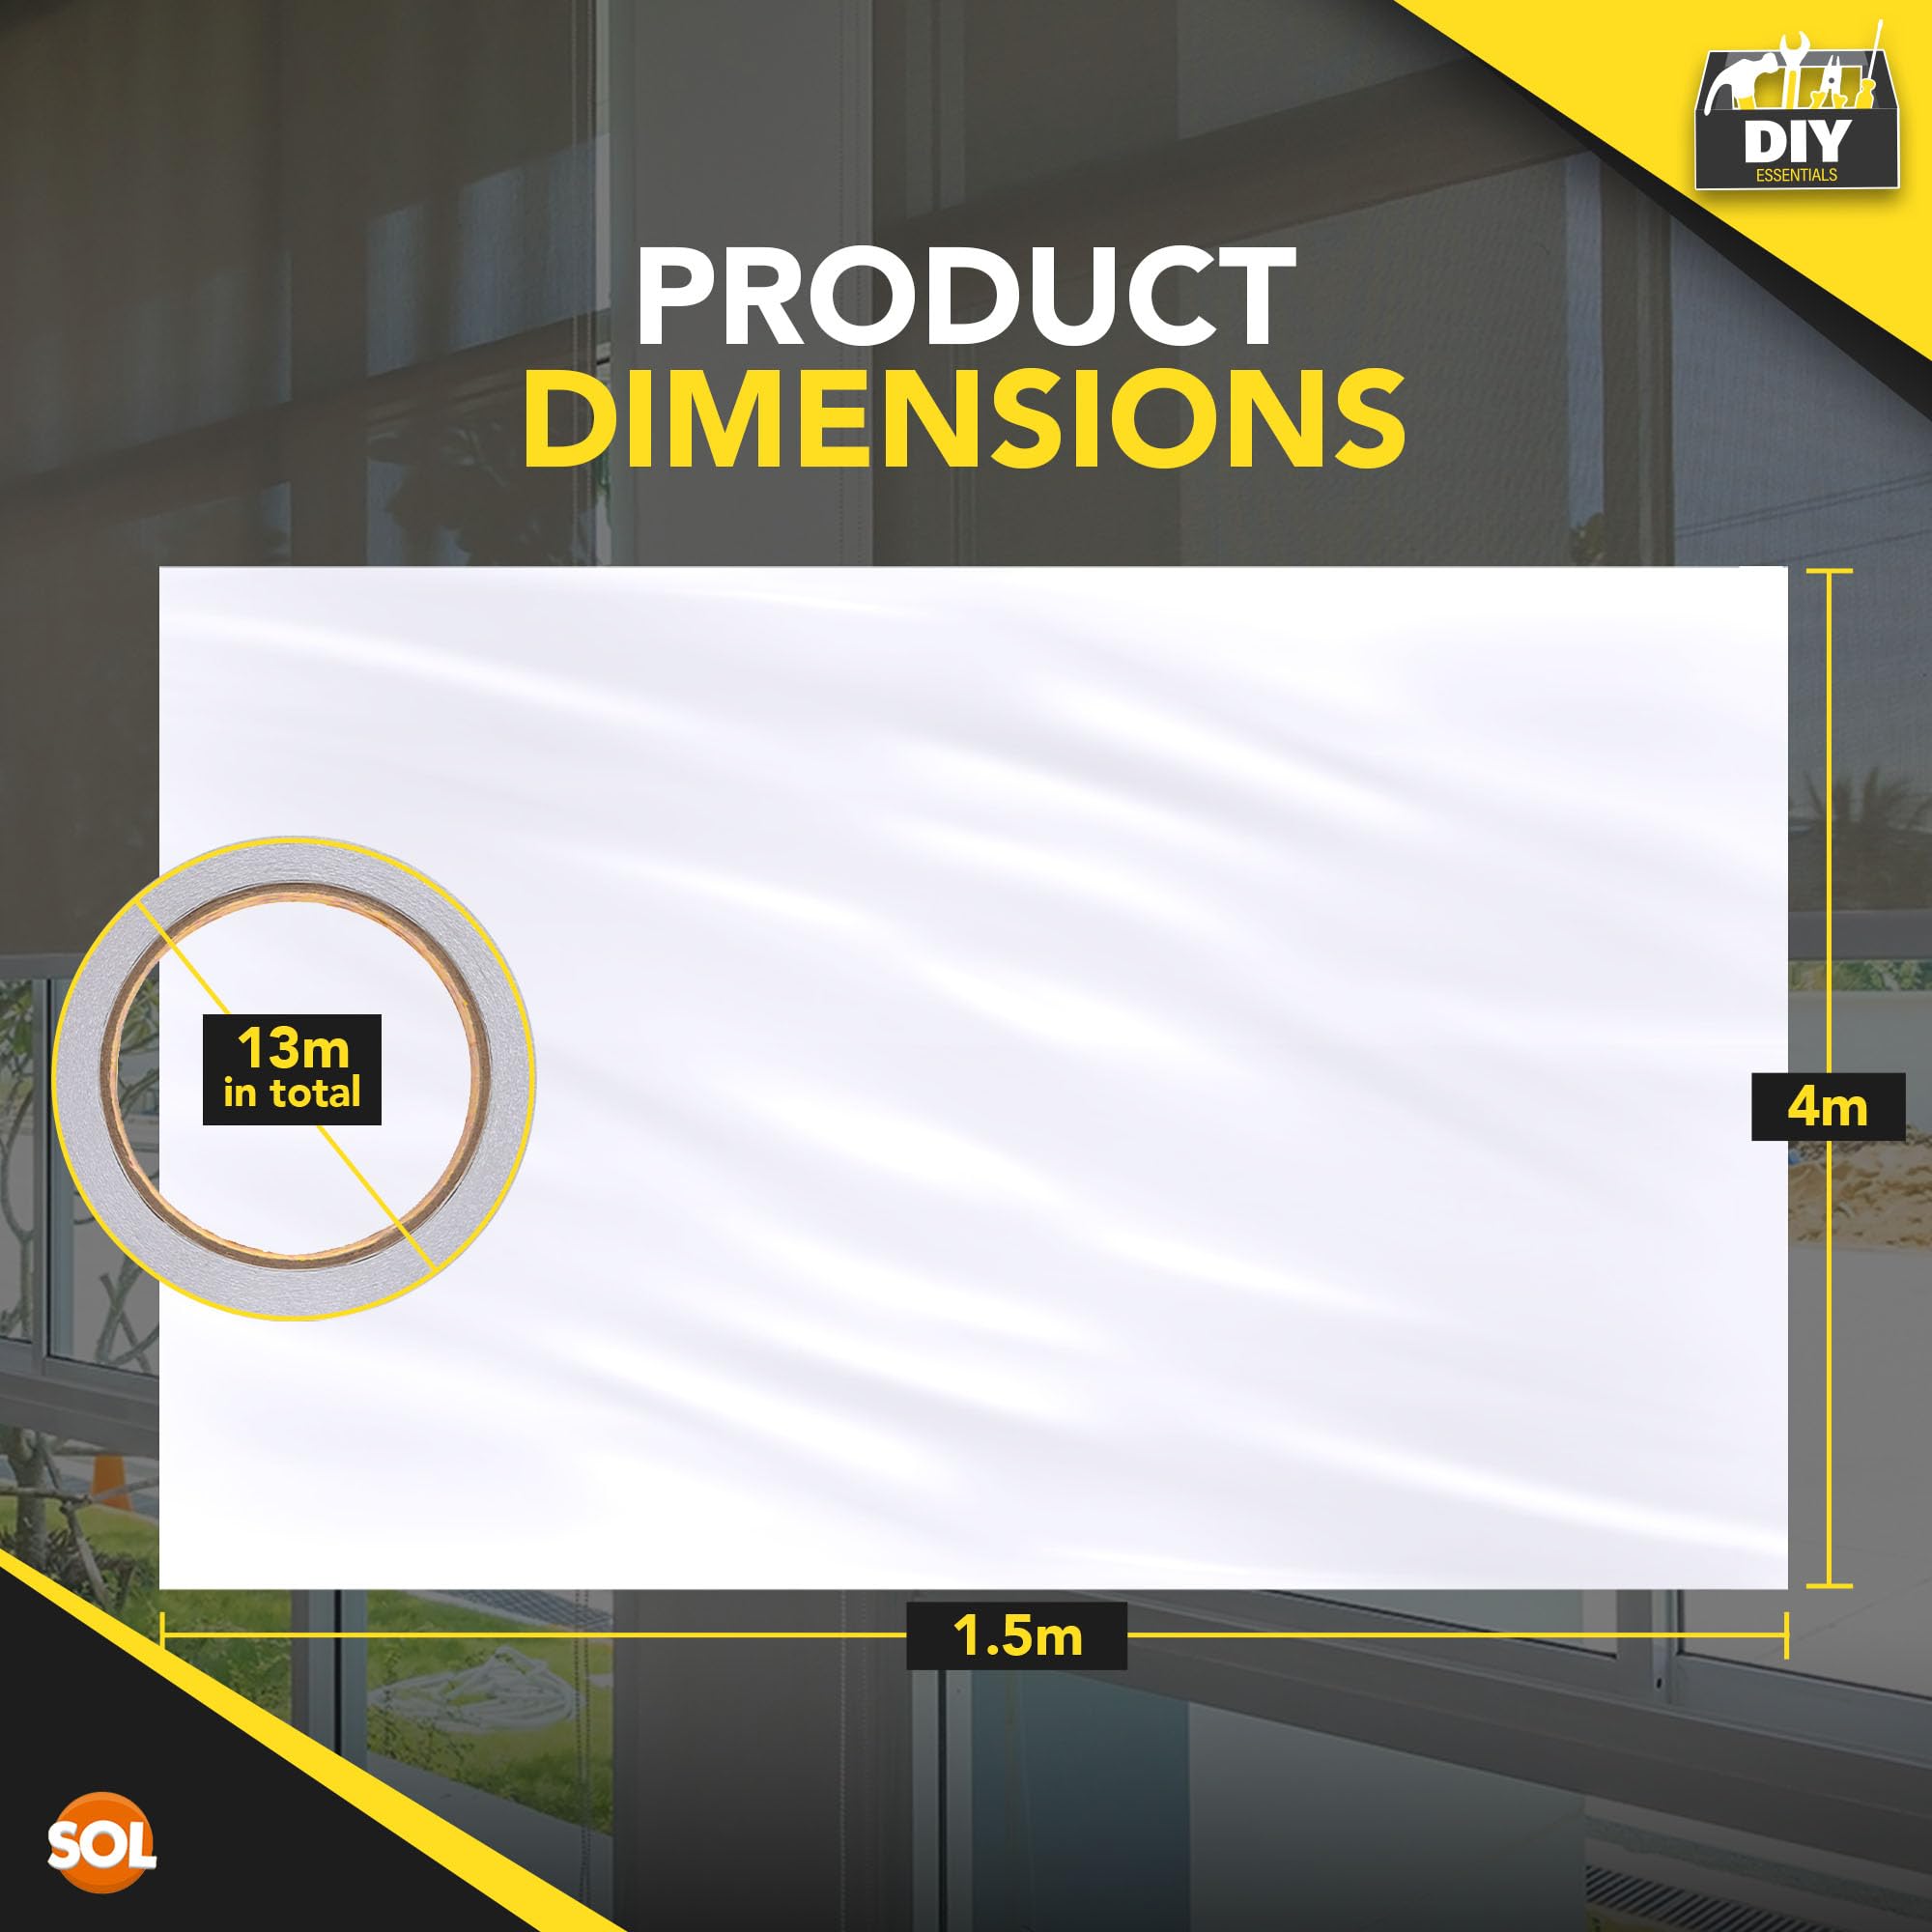
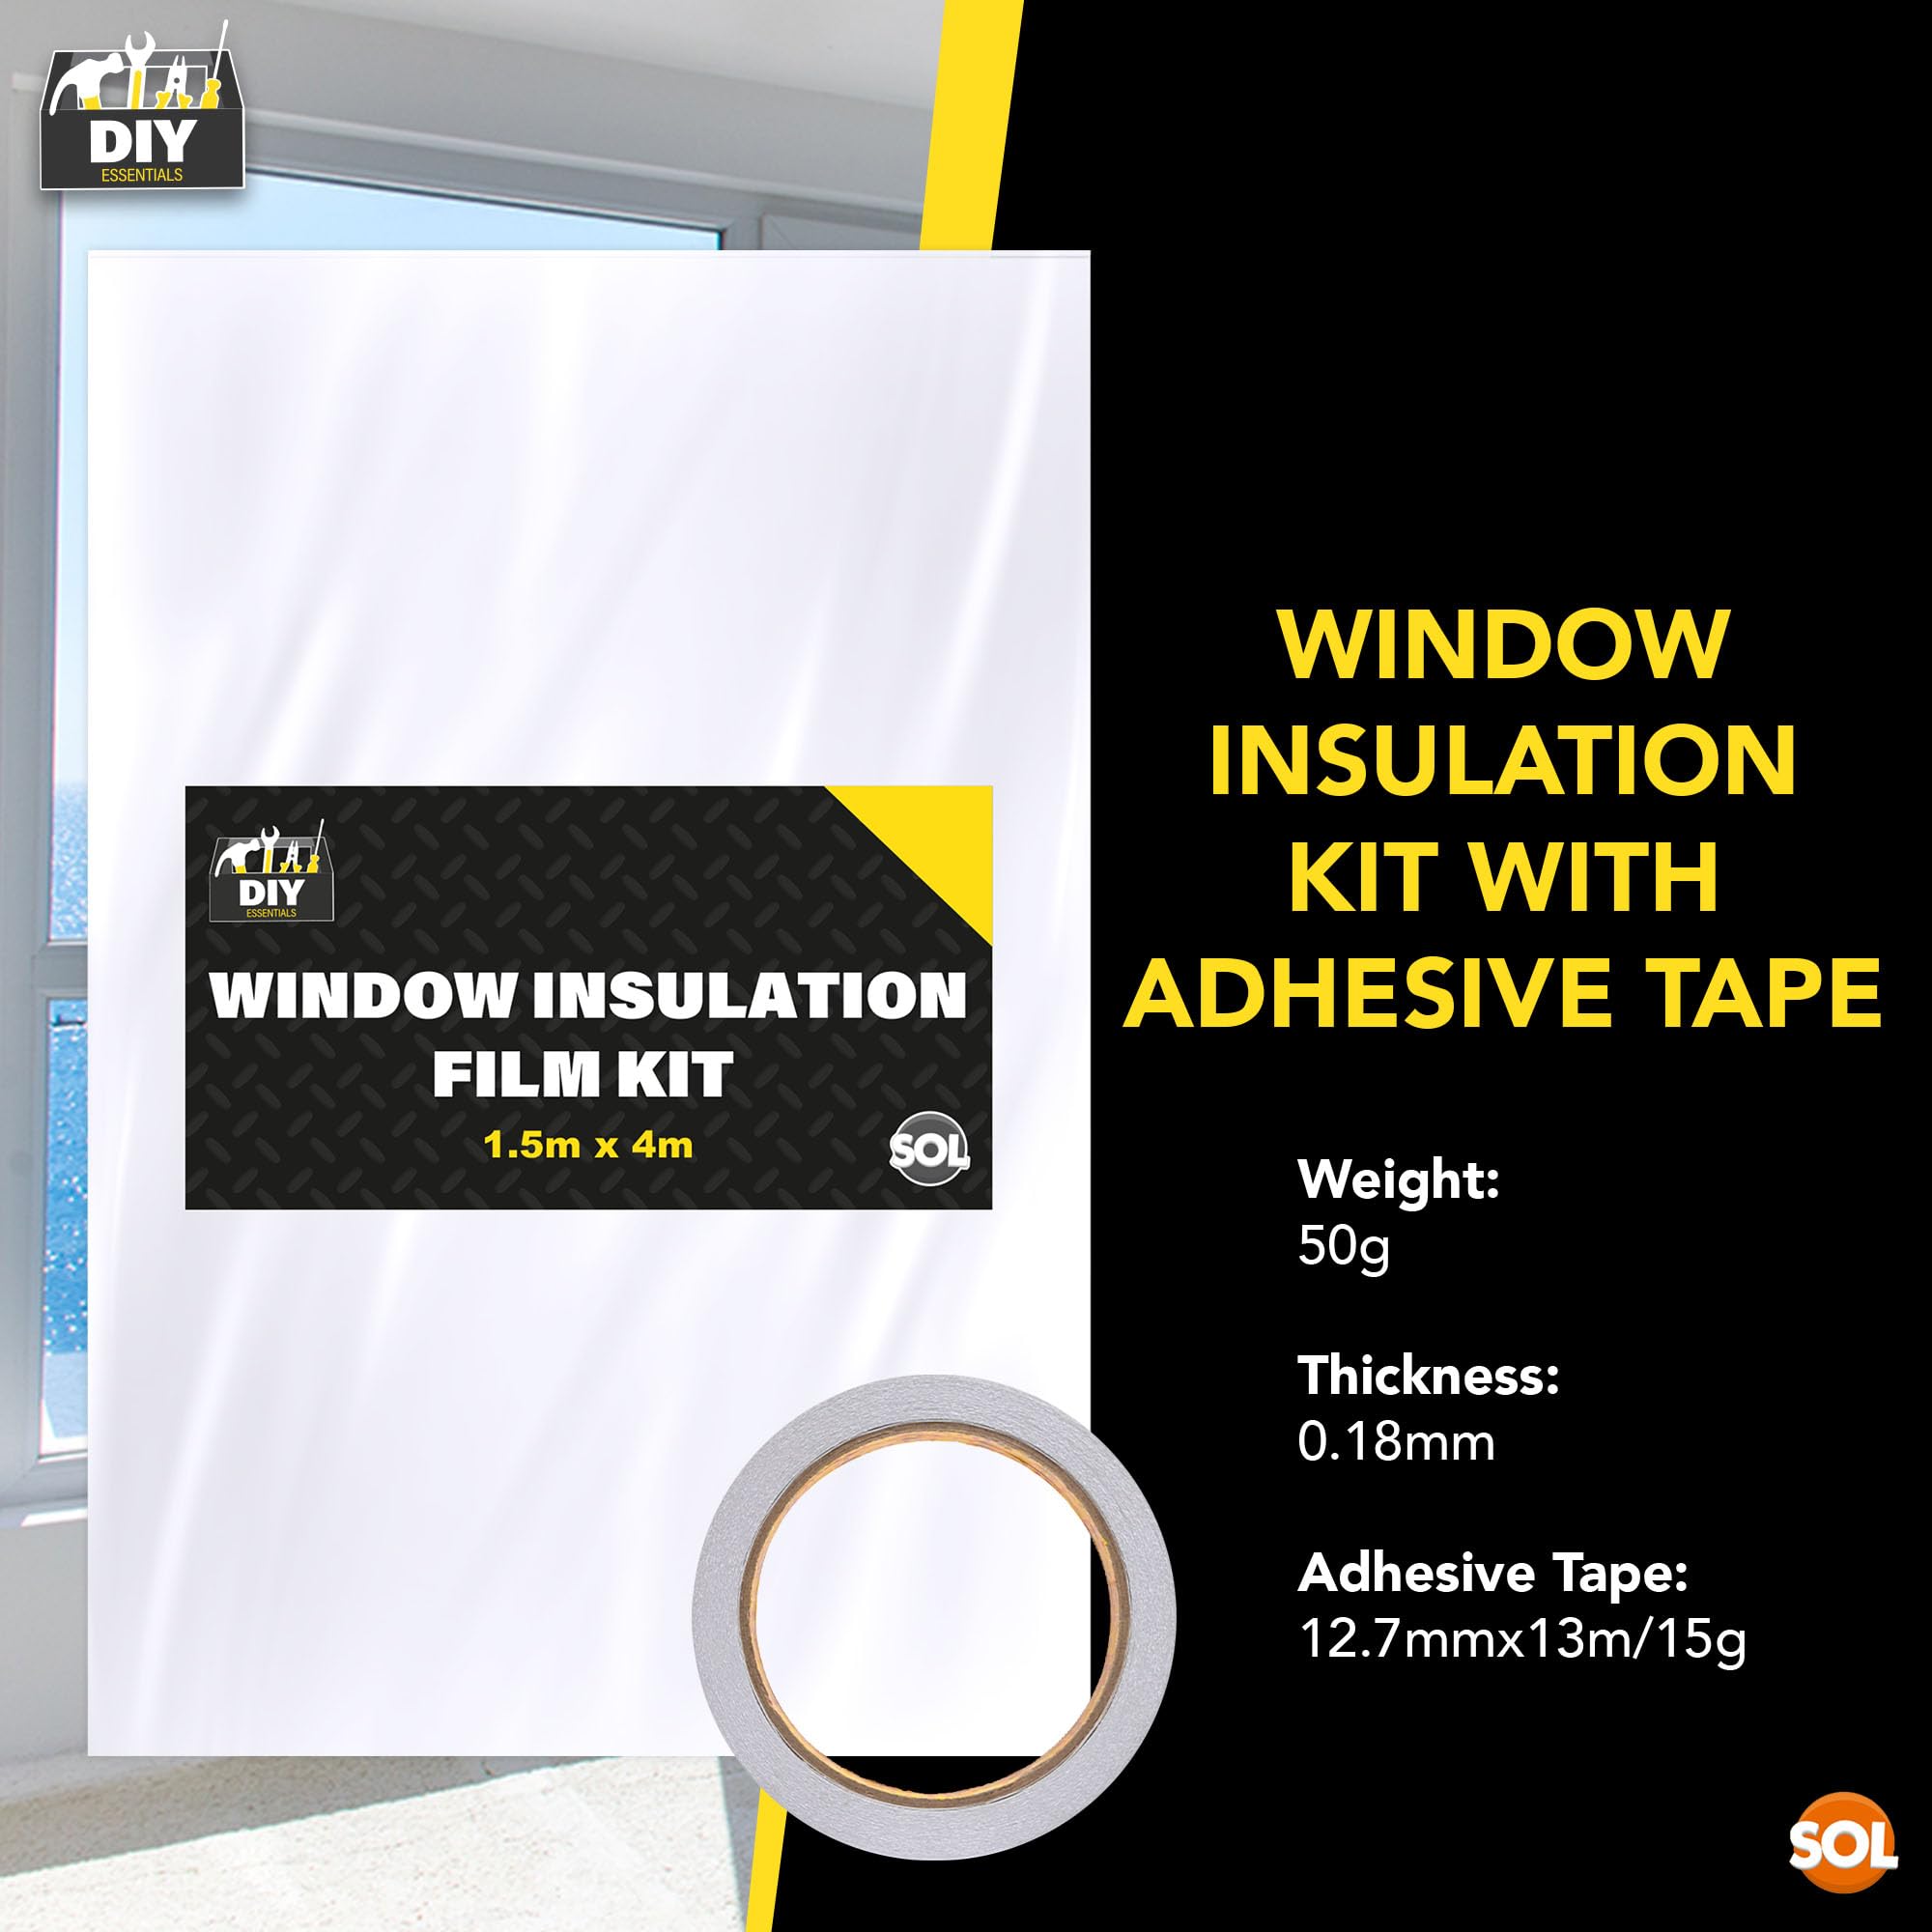
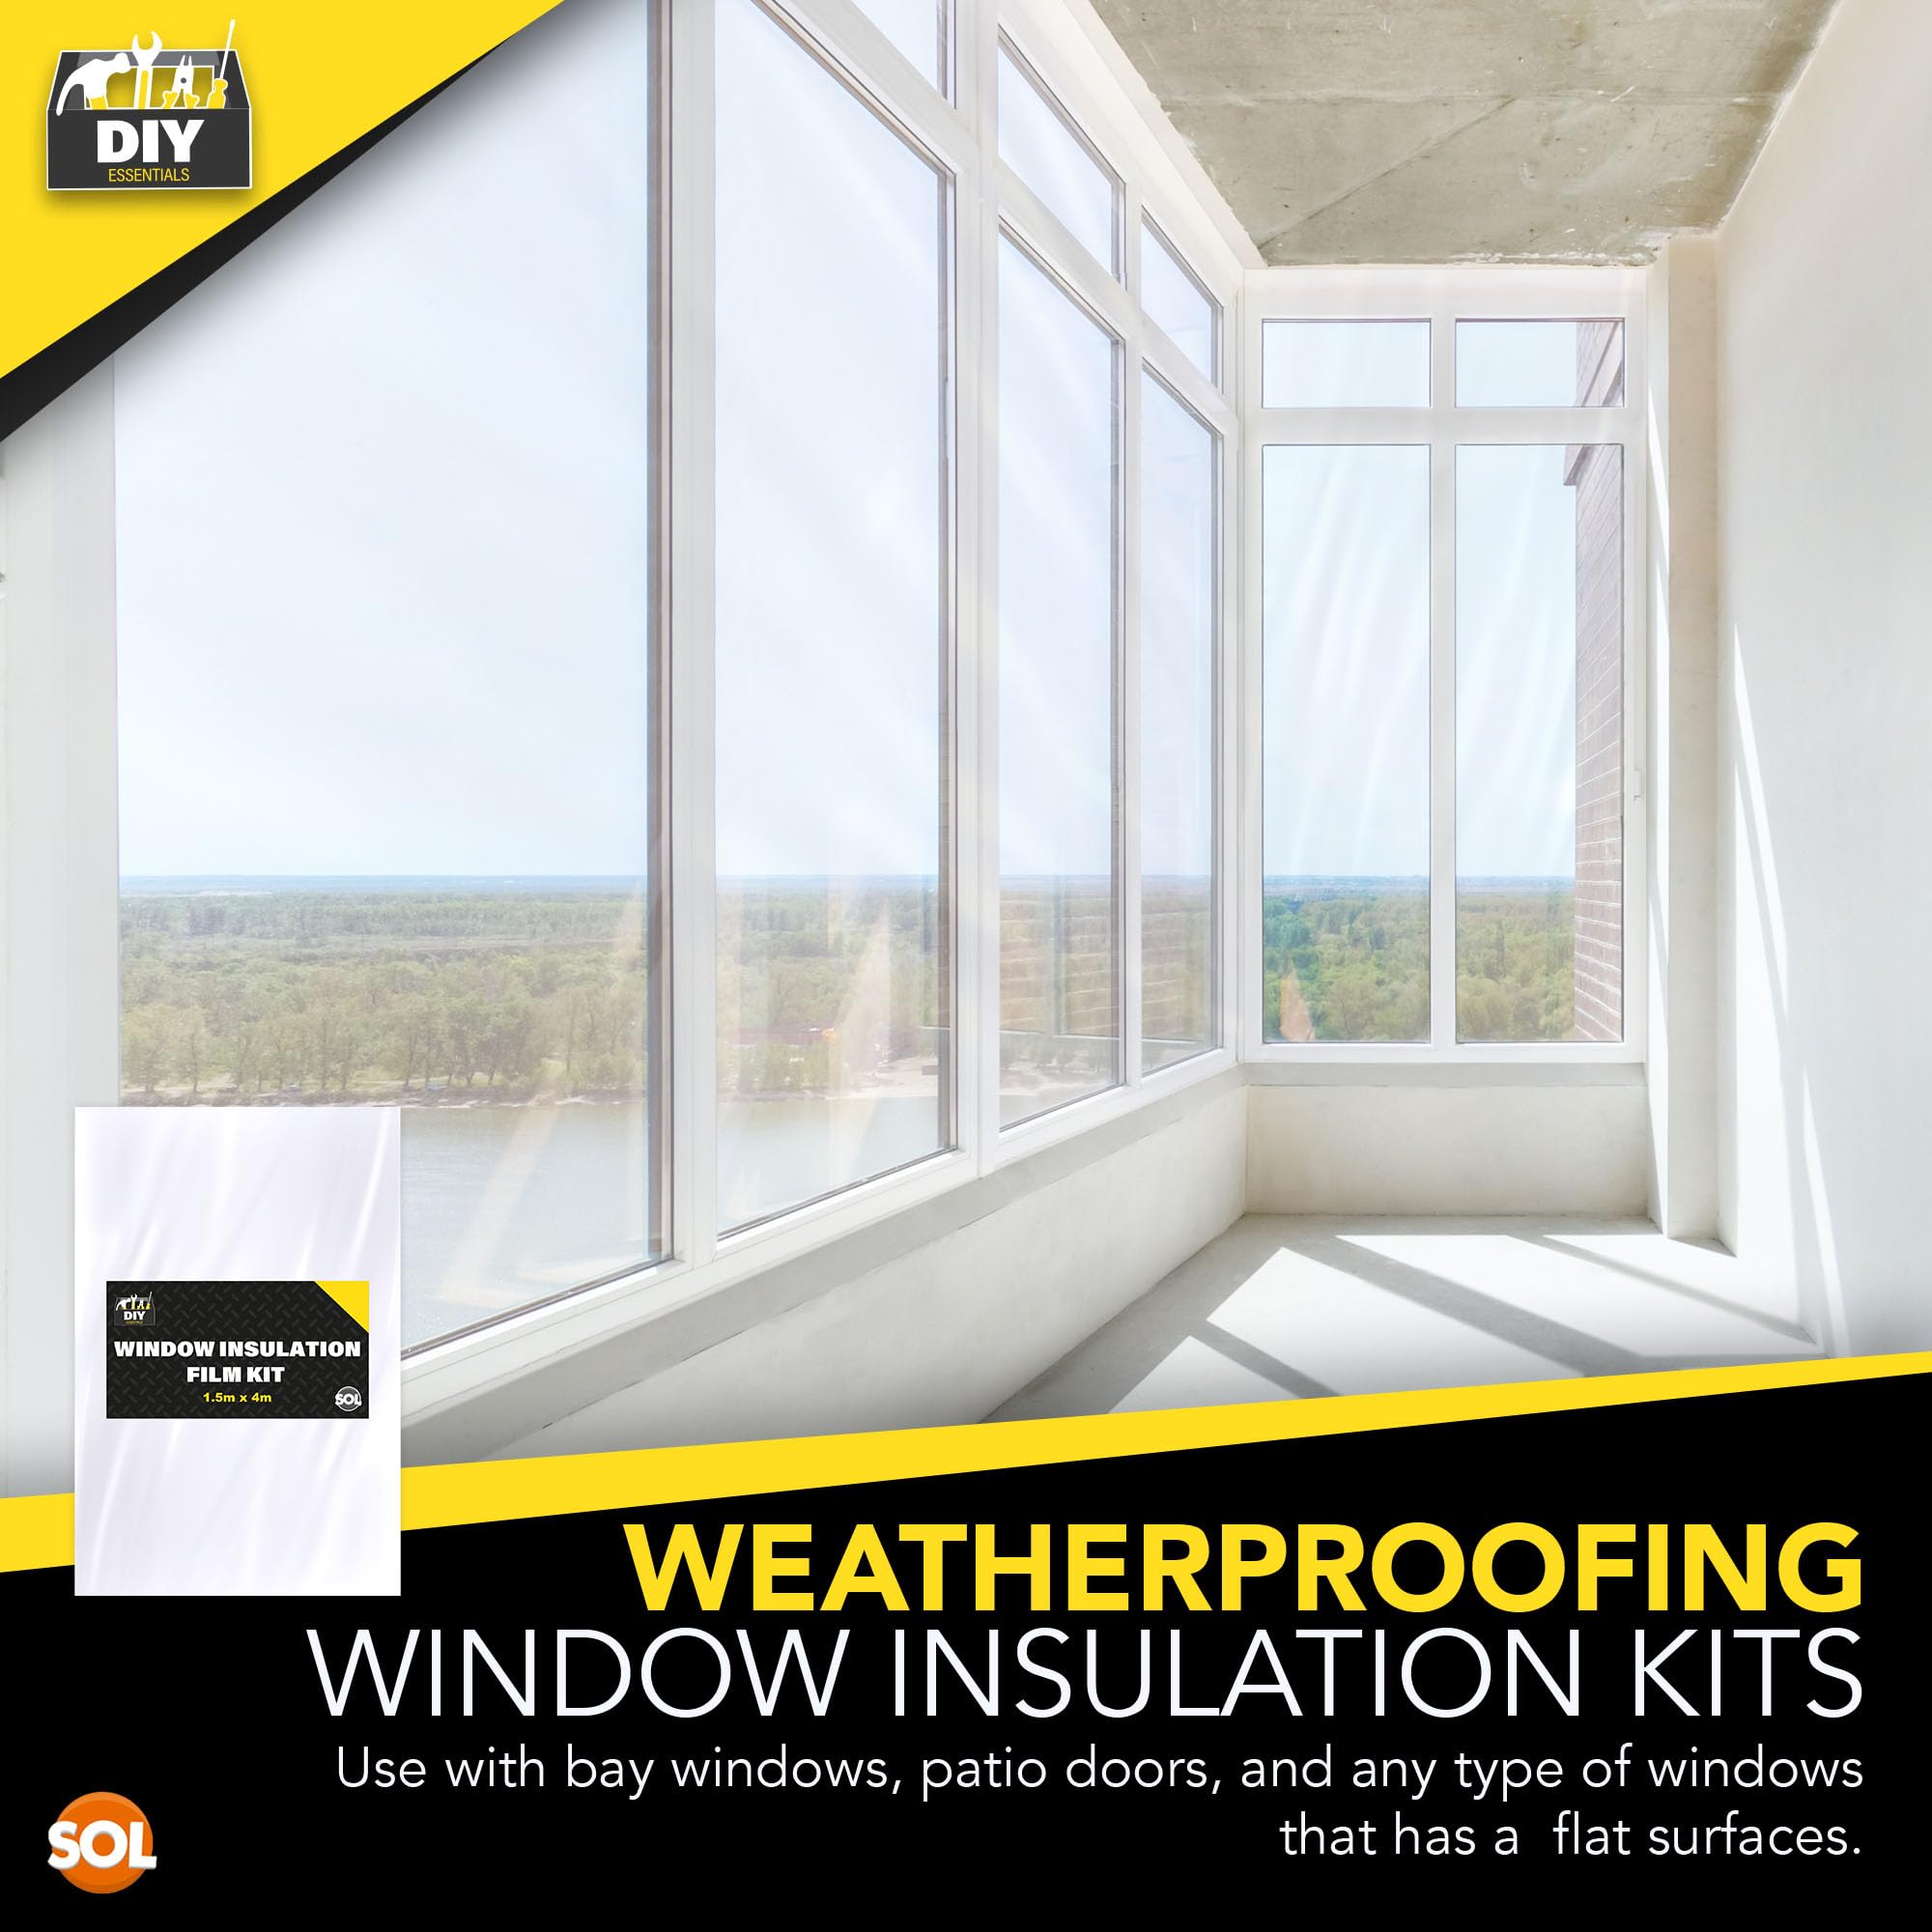
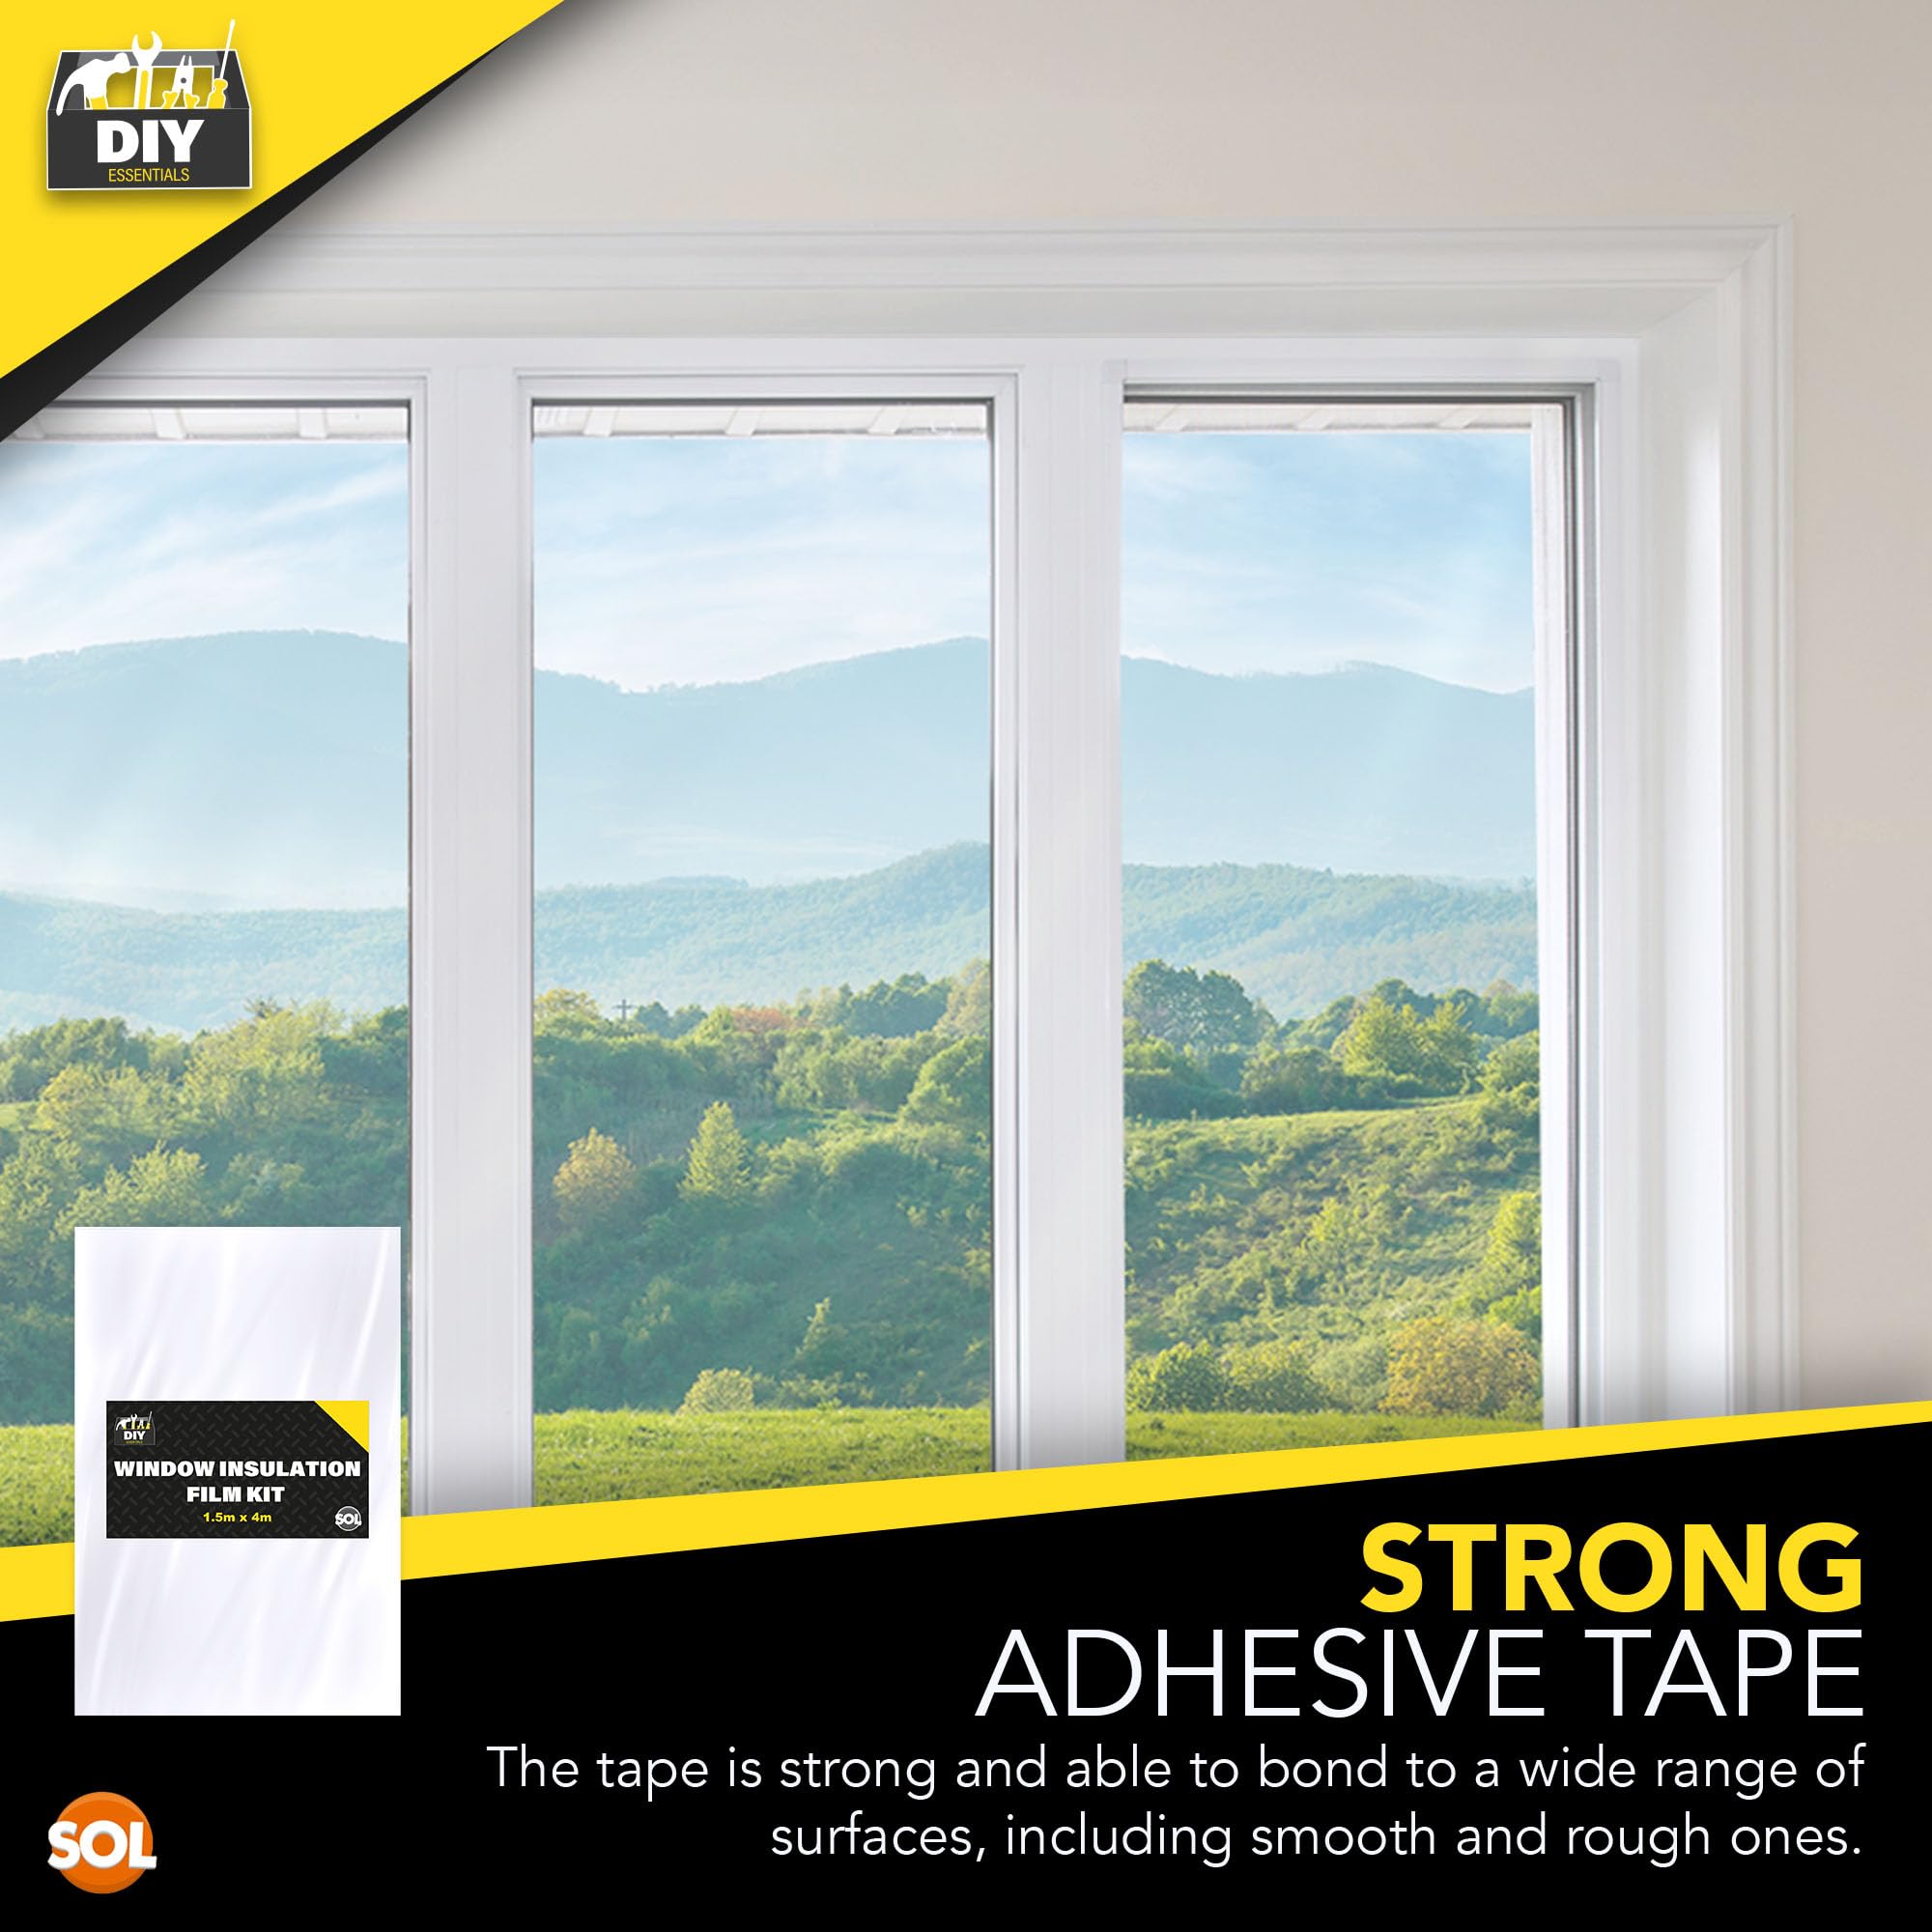
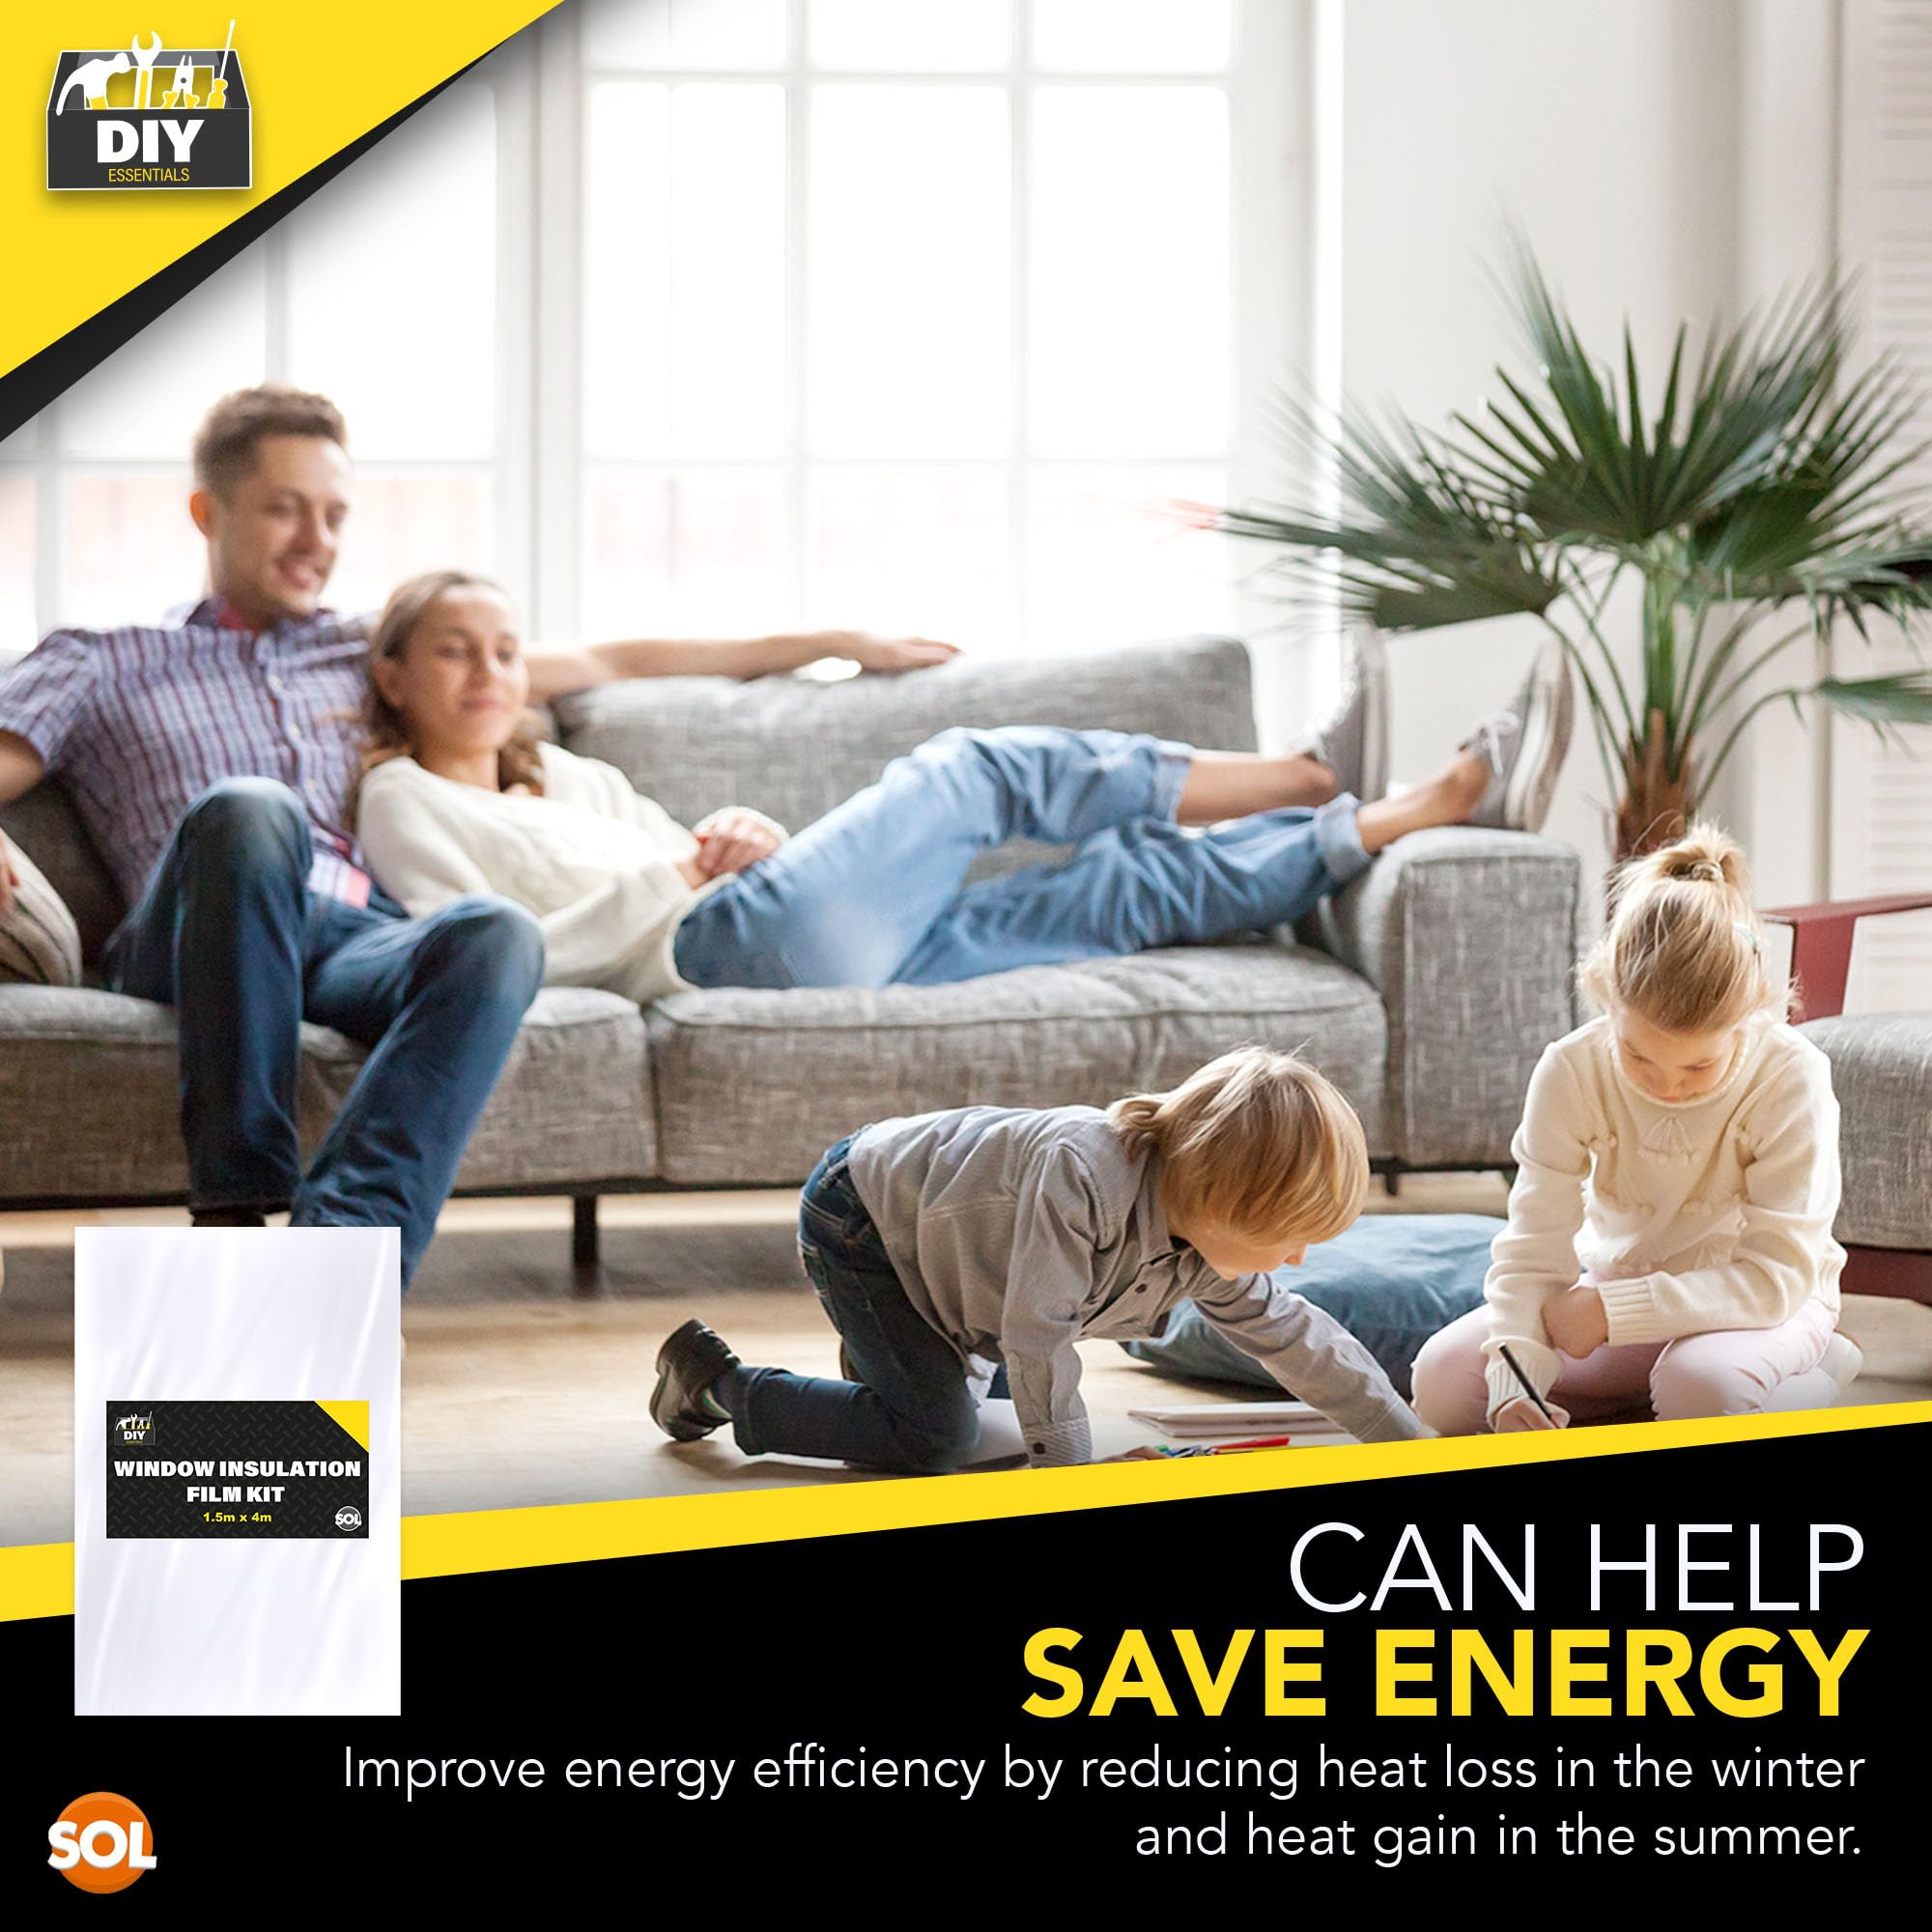
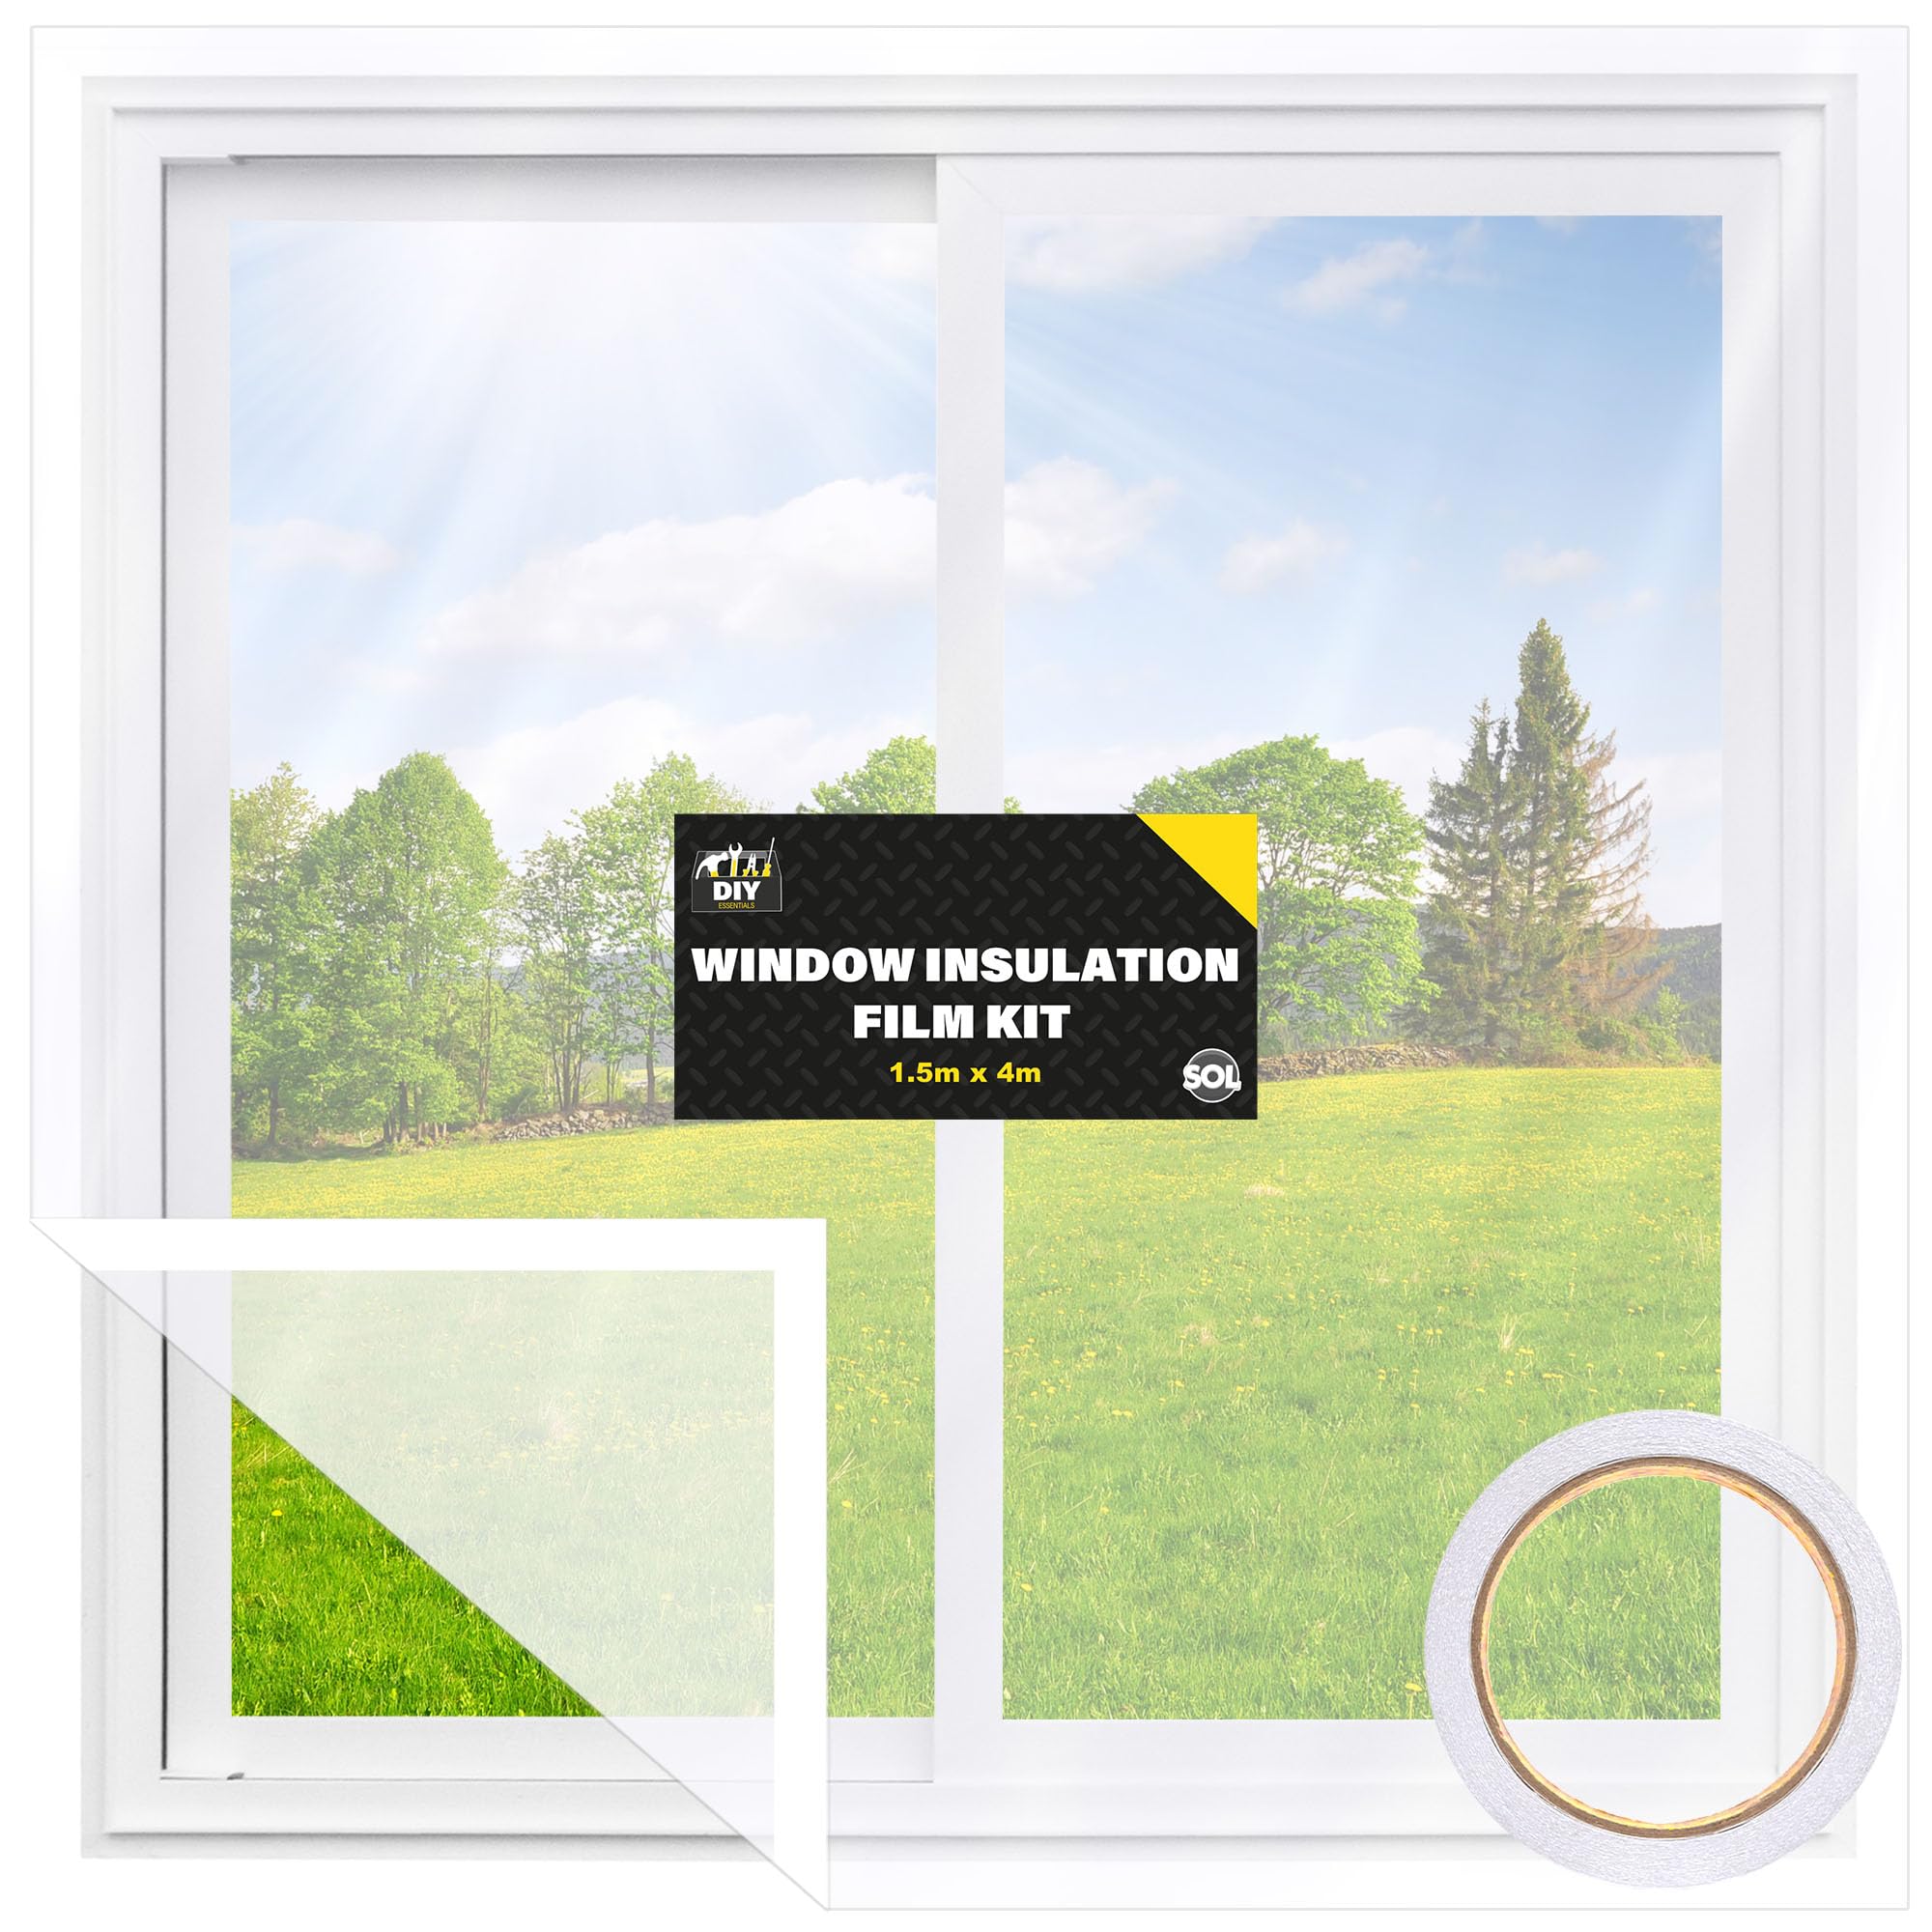
The SOL 1.5m x 4m Window Insulation Film Kit is a versatile, easy-to-install thermal barrier designed to reduce heat loss, block UV rays, and minimize drafts. Its strong adhesive ensures durability through all seasons, while its residue-free removal protects your windows. Ideal for energy-conscious homeowners seeking a cost-effective way to enhance comfort and efficiency.


| Manufacturer | SOL |
| Product Dimensions | 400 x 150 x 0.1 cm; 130 g |
| Batteries included? | No |
| Batteries Required? | No |
| Item Weight | 130 g |
C**E
Preparation is important. I’m impressed.
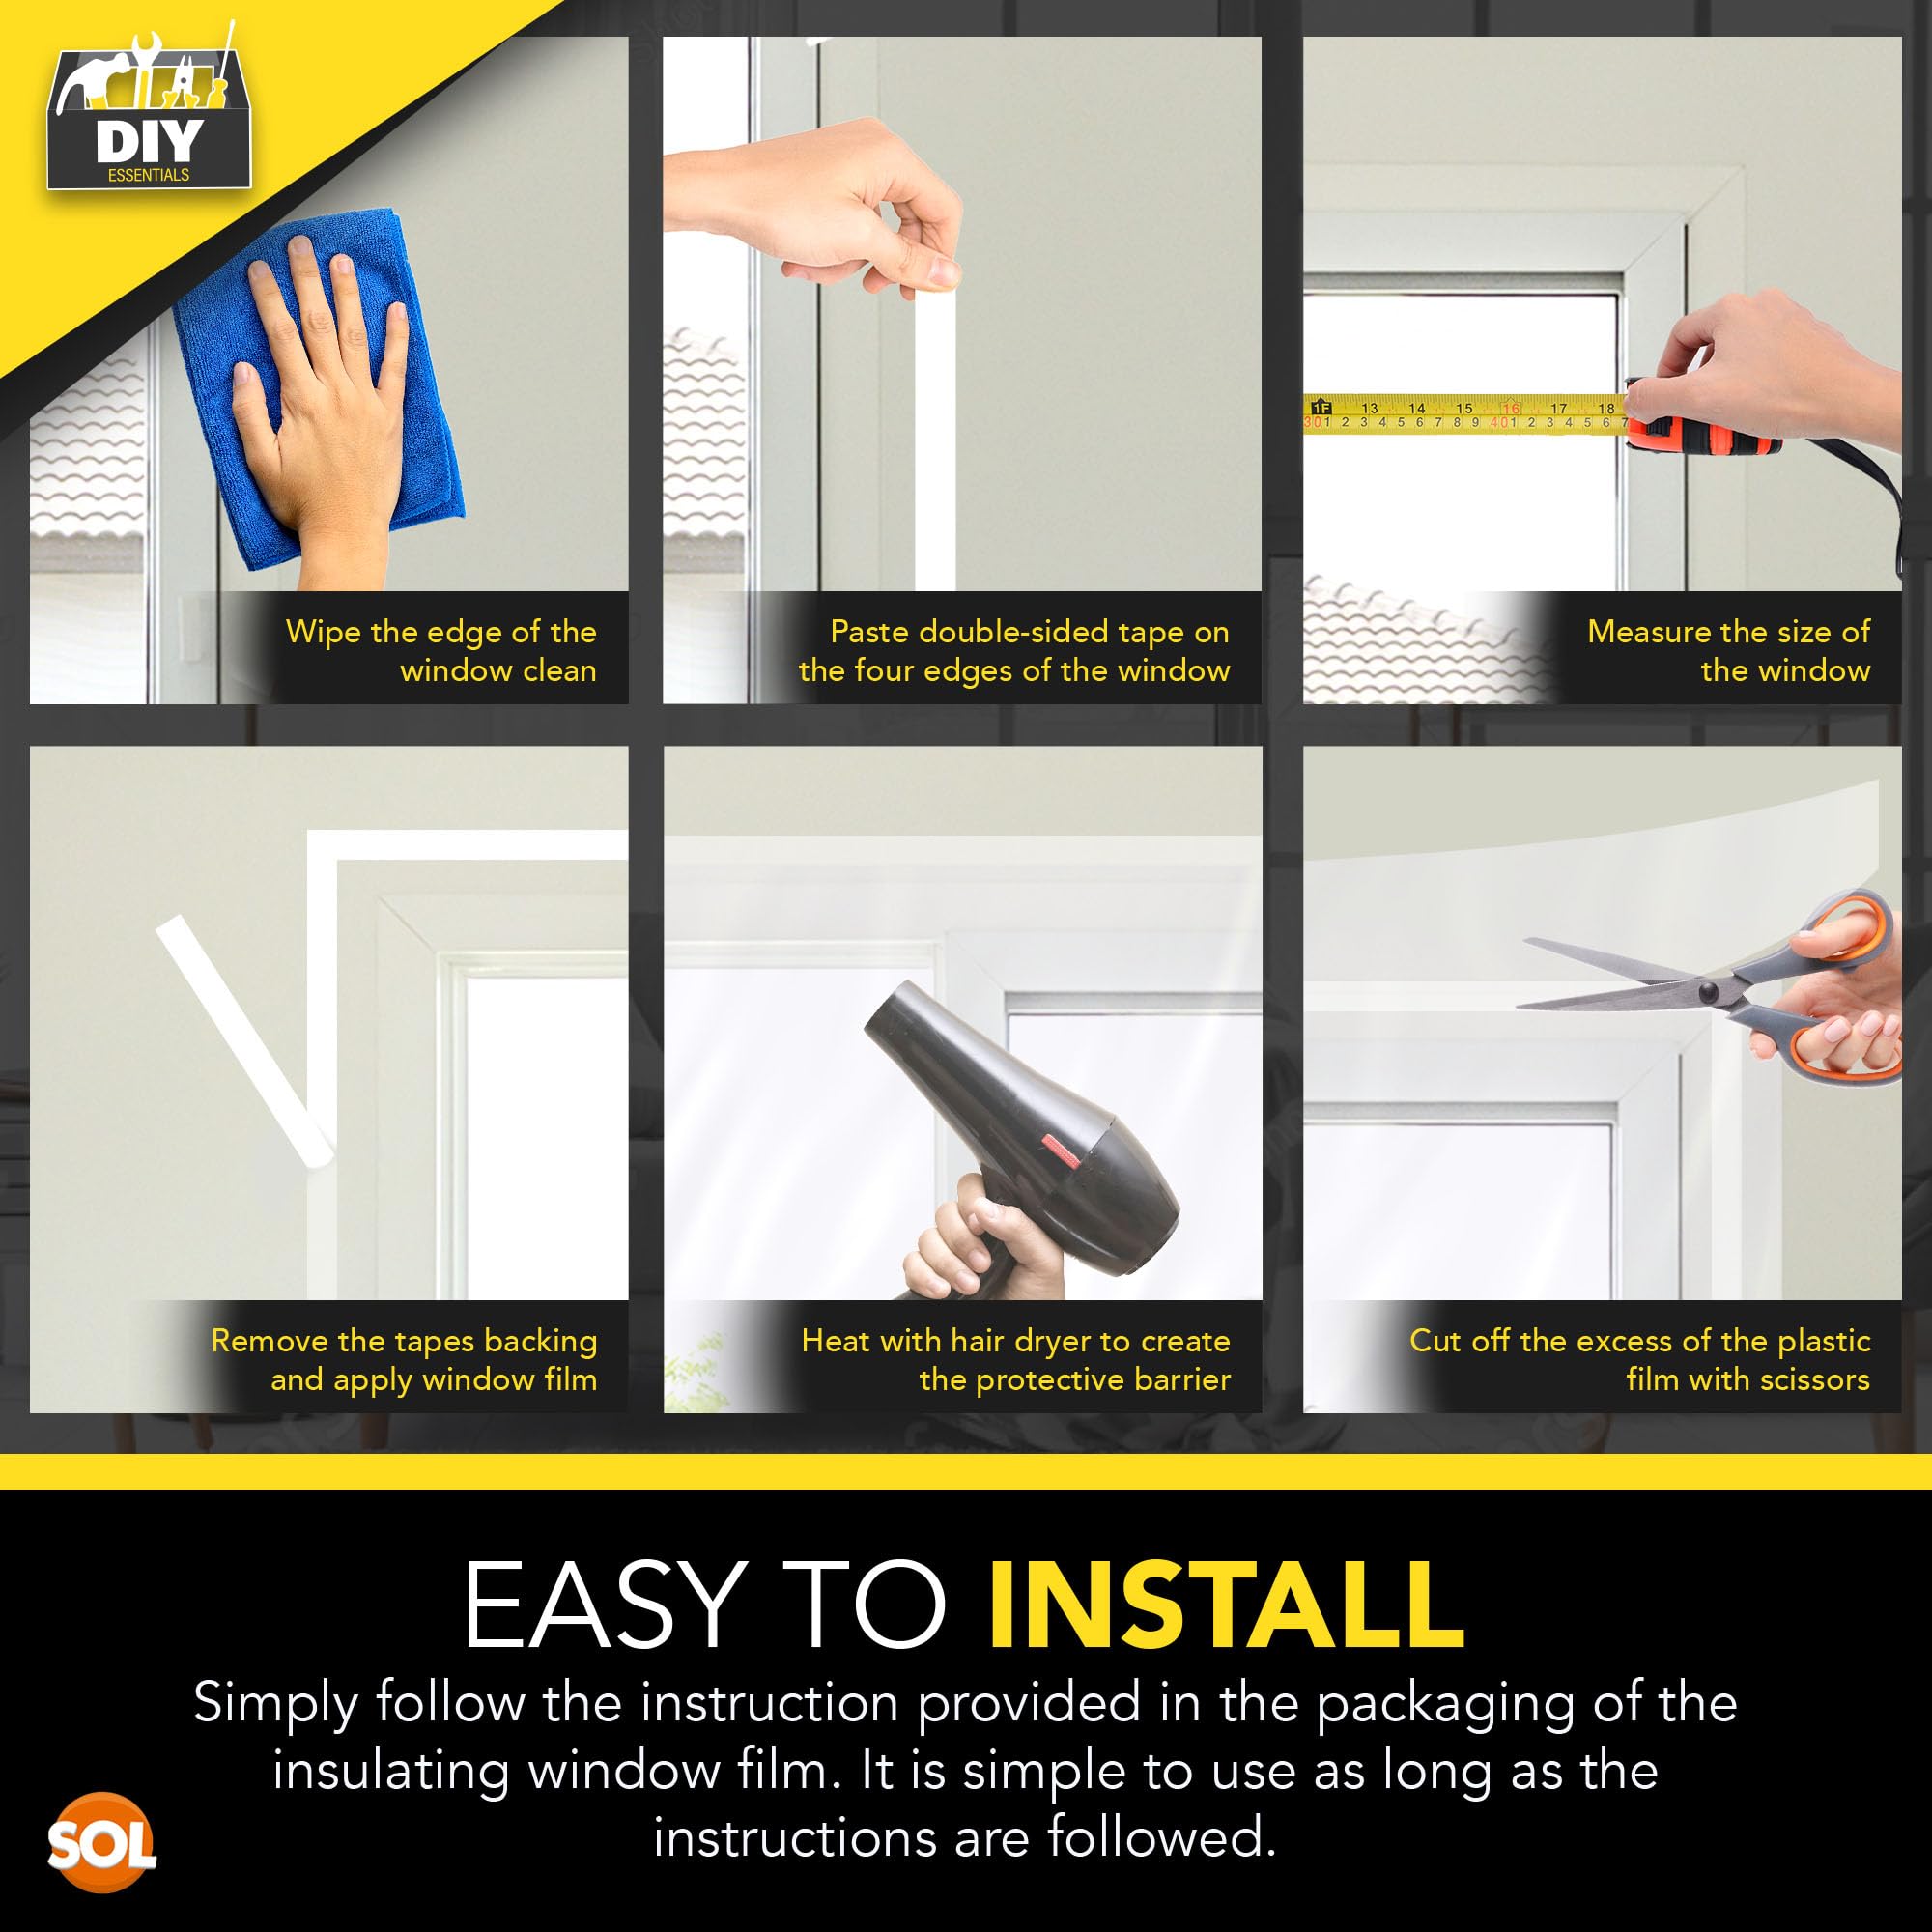
Ok firstly clean and dry thoroughly frame you are going to be affixing to. I used a hair dryer to dry frame and warm up the metal frame slightly this will ensure good adhesion of double side tape . I found it easier if you peel an inch of backing before sticking it to frame so you can peel backing off easily when you get to the corner peel backing an inch or so further then only cut the glue strip so that you still have paper backing connected this makes next run easier to peel. Do this on all fou edges. Cut plastic sheet a few inches over size on each edge . Start at the top and push film onto sticky edge ensuring you have a slight over hang at the sides. It’s really easy once stuck all around star heating with hair dryer any ripples creases will disappear.The finished product is virtually invisible but be care full once it’s shrunk it’s like the skin of a drum but it is very thin and I would think easily punctured. It does the job very well at a great price. But make sure you make good the preparation or the sticky tape won’t adhere well .
R**M
Absolute rubbish
A sheet of cheap plastic and a tiny roll of poor sticking adhesive, wow its so easy to make money these days. DO NOT BUY
A**R
Tape
Not enough tape to use all the plastic but a good product
T**S
1.5m x 4m Window Insulation Film Kit for Winter Weatherproofing Window Insulation Kits, Double Glazi
- **Easy Installation**: Setting this up was a breeze. The instructions were clear, and it didn't take long to get it all in place. No need for extra tools or complicated steps, which is always a win.- **Effective Insulation**: Once installed, it made a noticeable difference. The room felt warmer, and there was a significant reduction in drafts. It's like adding an extra layer of coziness to the windows.- **Cost-Effective Solution**: Compared to other insulation options, this kit is budget-friendly. It offers a simple way to improve energy efficiency without breaking the bank.- **Clear Visibility**: The film is transparent enough that it doesn't obstruct the view. You can still enjoy natural light and see outside without any annoying blurriness.**Areas for Improvement**:- **Adhesive Quality**: The adhesive could be stronger. In some spots, it didn't stick as well as expected, which might require some extra effort to secure properly.- **Durability Concerns**: While it works well initially, I'm curious about how it will hold up over time. It seems like it might need replacing sooner than later, especially in high-traffic areas.- **Size Options**: Offering more size variations would be helpful. Not all windows are the same, and having more options could save time on cutting and adjusting.
A**A
Genuinely fantastic, but you MUST use a hairdryer
Wow I’m actually blown away by this (as is my wife). You open it and it feels like a cheap plastic bag with creases but after installation it’s excellent. This is the only review I’ve ever left on Amazon but felt compelled to do so to counter all the 1 stars. The images are of my install. You basically can’t tell it’s there but for a bit more reflection.There are a few really important things to know re installation.1, really clean the frame and use a hair dryer to warm up the glass a little so there’s no moisture/ condensation that will get trapped and give you steamy windows.2, follow the instructions especially when it comes to only removing 30cm or so of the tape backing at a time.3, we found the easiest approach was to cut a piece about 5cm bigger all the way around. Start from the top and stick it all the way down keeping it as taught as possible. Don’t worry if it’s not perfect and it’s ripples etc. The hairdryer will fix that. Also down worry about any creases along the edges as long as it’s not folded over itself anywhere.4, Once stuck make sure it’s properly secured all the way around and there are no air gaps. We then used a sharp knife to trim off that 5cm excess. The excess makes application much simpler as you don’t need to line up the sheet perfectly with the tape.5, Now the magic, get out the hairdryer on max heat and keep it moving and heat the whole plastic sheet top to bottom. All the wrinkles etc disappear and as the plastic hardens it pulls itself taught into a nice flat shape. It’s still thin plastic but you’ll also feel it now feels much harder and more robust than the plastic sheet you just applied.Makes a genuine difference to the warmth and can’t believe it cost a fiver!!
M**N
Keeps out cold
Ideal fitted to single glazed windows in porch during cold weather sorted out the condensation problem and felt warmer
I**G
Thin ineffective plastic
The media could not be loaded. Offers minimal protection from drafts. While the adhesive tape was secure once applied, removing the backing was a bit of a struggle. It does block the wind from entering my room, but that’s about it. To notice any difference, I had to double up/triple the plastic over the vent, which was frustrating to work with. Literally, it’s just a thin sheet of plastic marketed as more effective than it really is.You’d be better off buying a roll of thicker plastic and some strong tape cause this ain’t it!Let’s light in if thats your aim, mine was to feel warmer.
S**S
Just the right shade!
Very easy to use, I’ve applied it to my Velux upstairs, as it gets the sun. It looks good & has toned down the sunlight entering the window, I’m pleased with it👍
Trustpilot
2 months ago
2 days ago